Make files in announcements visible to selected sections only
- Kiruthika Ragupathi
Owned by Kiruthika Ragupathi
You can make attached files in your announcements to be only visible to students in specific sections by uploading the files attachments using Upload document option within the Announcement's Rich Content Editor.
- Place the cursor in the text box where you would like the attachment to appear.
- Click the dropdown arrow next to the Document icon and select Upload Document.
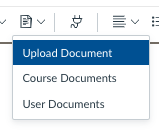
- Click Upload File and select the desired file (or drag-and-drop your file), and then click the Submit button.

- The file should show up in the rich-text editor. You will not be able to click on the link to view or download the file until you post the announcement.

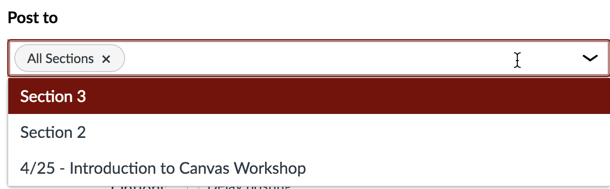
- From the Post to drop-down menu, select the section to which the announcement should be sent to.
Note that all uploaded documents that are added using the "Upload document" option with the rich content editor are placed in a folder titled "Uploaded Media" and the access permissions will be set to "Only available with link".